Interactive
Creativity
Join a community of over 1 million Streamers, YouTubers, VTubers, Artists, and Creatives who use our avatars!
Try Animaze Free
Works Anywhere
![]()
![]()
![]()
![]()
![]()
![]()
Entertainment Evolved
Animaze puts AAA-quality avatars in your hands so you can create interactive avatar-based entertainment for audiences around the world. With a vast set of easy-to-use features, an extensive library of imaginative avatars, engaging animations, and more, the possibilities are endless.
![]()
![]()


Take your avatar with you everywhere you go!
Get up and running with your very own avatar quickly and easily. After an initial setup, Animaze works with webcams or iPhones and is compatible with OBS, SLOBS, Discord, Zoom, Google Meetings, and more! Stream on websites including Twitch, YouTube, and Facebook Gaming. Post videos on all the socials, including TikTok and Instagram.
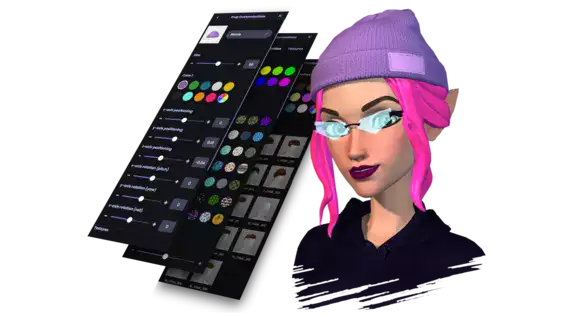
Unlimited customization
Choose from a vast array of premade base models. Select from a wide range of animals, objects, and human avatars. Add props, backgrounds, and emotes. Before you know it, you’ve got a custom virtual character ready to go!
Take your streaming to the next level
Animaze is compatible with your favorite streaming and embodiment technology. Create complex scenes and transitions with Stream Labs, OBS, SplitCamera, and StreamDeck. Take your mocap experience one step further with additional trackers like Leap Motion, audio-based lip trackers, and Tobii Eye Trackers. Animaze is pushing boundaries and integrating with the most impressive partners in the industry.

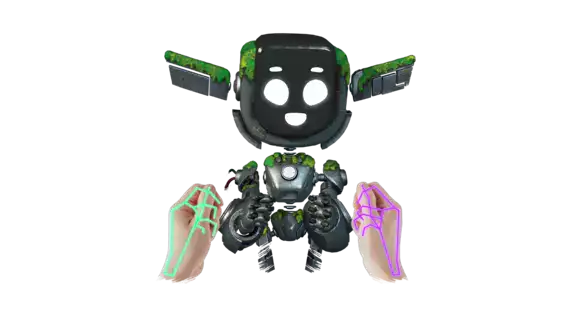
Import your own Live2D, VRM, and Ready Player Me models
Already have a model? No need to start over! Import your models into Animaze using our guides. Use the Animaze Editor and comprehensive documentation to turn your 2D and 3D models into avatars, props, and backgrounds. Then share them with the creator community!
Be seen and heard as you choose!